Lighting techniques

Lighting techniques

Capture Food in Its Best Light: Lighting Techniques
When it comes to food photography, lighting is key. The right lighting can make your dishes look mouth-watering and irresistible. In this article, we'll explore some lighting techniques to help you capture food in its best light.
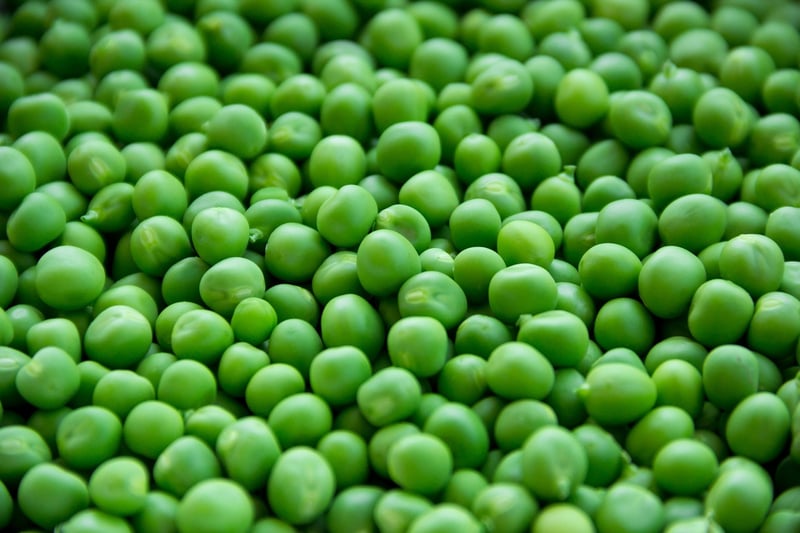
1. Natural Light
Natural light is a food photographer's best friend. Try to shoot your dishes near a window where natural light can flood in. Soft, diffused light works best for food photography as it helps to enhance the colors and textures of the food without creating harsh shadows.
2. Use Reflectors
Reflectors can help bounce natural light back onto your dishes, filling in shadows and creating a more balanced look. You can use white foam boards or reflector discs to redirect light onto the food from different angles.
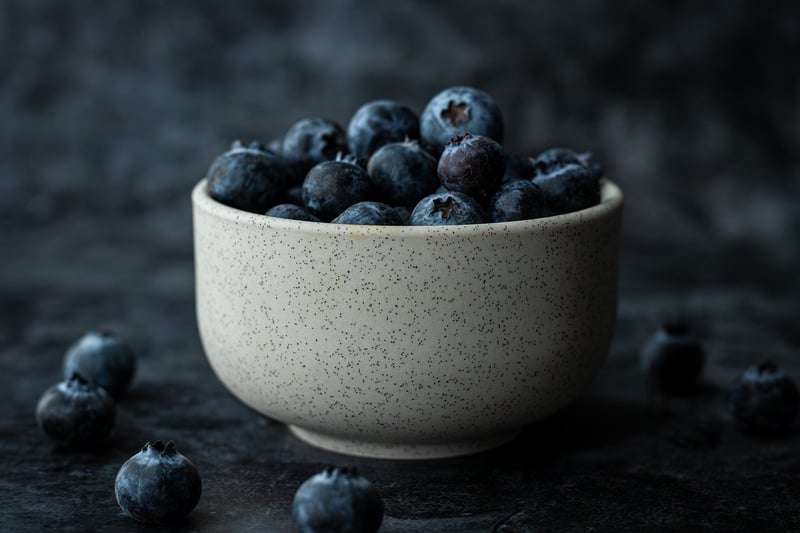
3. Artificial Light
If natural light is not available or not sufficient, you can use artificial lighting sources like softboxes or LED panels. These can help you create a controlled lighting environment and highlight specific areas of your dish.
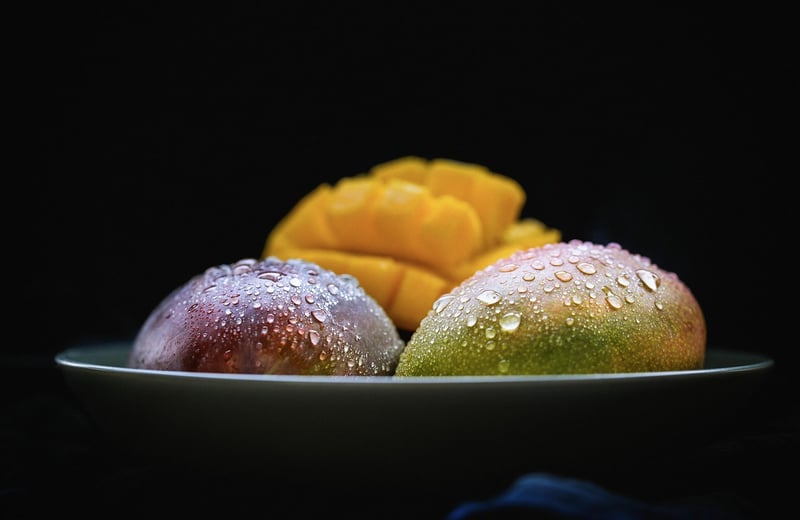
4. Backlighting
Backlighting can create a beautiful halo effect around your food, making it look more appealing. Place your light source behind the dish to create a glowing effect that enhances the overall presentation.
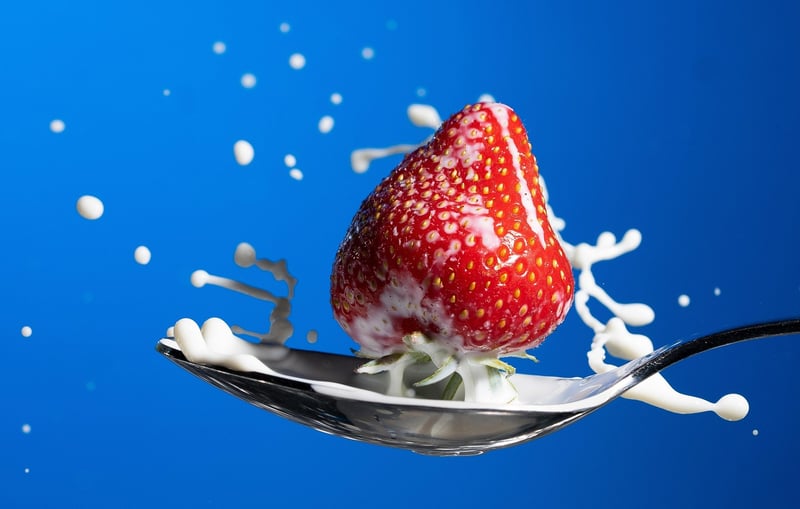
5. Light Diffusers
Using light diffusers like umbrellas or softboxes can help soften harsh light and create a more flattering look for your food. Diffusers can spread the light evenly, reducing harsh shadows and creating a more professional image.
By mastering these lighting techniques, you can elevate your food photography and make your dishes look as delicious as they taste. Experiment with different lighting setups to find the perfect one for each dish and let your creativity shine through your lens.
Remember, good lighting can make all the difference in how your food is perceived, so don't be afraid to play around with different lighting styles until you find the one that works best for you.